
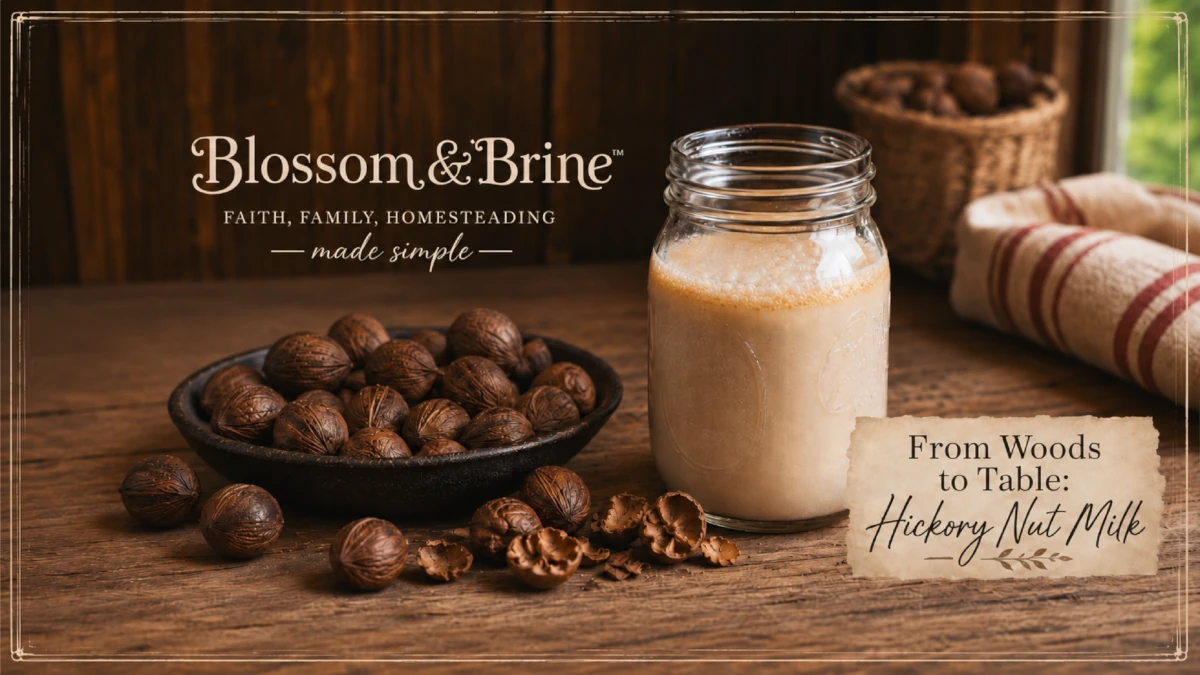
From the Woods to the Table
Ingredients
- 4 cups coarsely cracked hickory nuts, shells included
- 8 cups water
Yield: 1 quart
Instructions
- Rinse the cracked nuts to remove any loose shell fragments or dirt.
- Place the cracked nuts into a large stockpot and add the water.
- Bring the mixture to a gentle boil.
- Reduce the heat and simmer for 20 to 30 minutes, stirring occasionally.
- Remove the pot from the heat and allow it to cool slightly.
- Pour the mixture through a fine mesh strainer lined with cheesecloth or a clean flour sack towel into a clean bowl or pot.
- Press or squeeze the solids to extract as much liquid as possible, then discard the shells and nut pieces.
Your hickory nut milk is now ready to use. As the milk cools, you'll notice a layer of rich fat rising to the surface. This is completely natural and one of the reasons hickory milk has been valued for centuries. Stir it back into the milk before using, or skim it off and save it as a flavorful cooking fat.
Canning
This is a rebel canning recipe. It does not follow USDA guidelines. Use at your own risk.
Amish Water Bath Canning Method
Process in a water-bath canner (WB) or steam-bath canner (SB) for 1 hour at elevations of 0–1,000 feet. If you live at a higher elevation, adjust the processing time using my family’s easy elevation chart in the Blossom & Brine™ Canning Times Guide. Start the timer at a full rolling boil, this is a boil that can't be stirred down.
Pressure Canning Method
No established pressure-canning time for this recipe.
📌 Instructions: How to water bath can, steam bath can, pressure can, open kettle can, and headspace.
Disclaimer: Recipes and methods are shared for educational purposes and may include traditional, historical, or home-developed food-preservation practices. Unless stated otherwise, they have not been evaluated or approved by the USDA. By choosing to use this information, you accept full responsibility for your decision and agree to the terms of our Liability Waiver.
Nutrition
| Serving: one cup Calories: 120 kcal Total Fat: 11 g Saturated Fat: 1 g Total Carbohydrates: 4 g | Total Sugars: 1 g Cholesterol: 0 mg Sodium: 5 mg Fiber: 1 g Protein: 2 g |