
Homemade Chili Oil with Dried Peppers
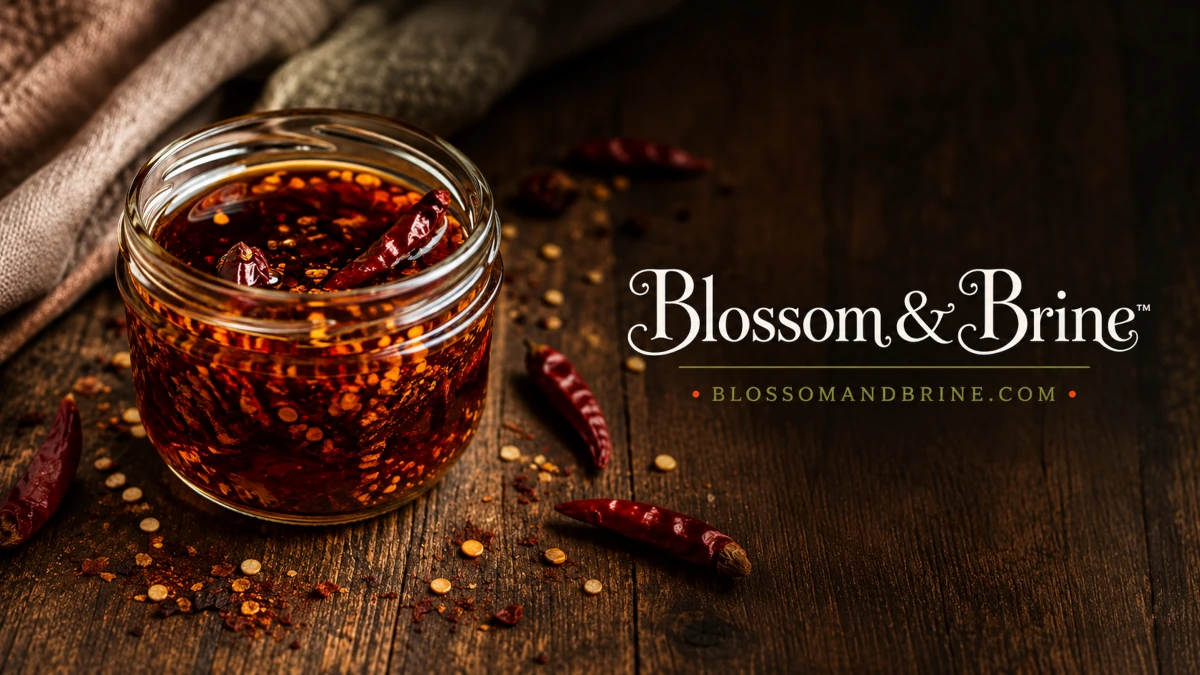
This homemade chili oil is made with fully dried peppers and infused with warm spices to create a rich, customizable condiment. Blend mild, smoky, or extra-hot dried peppers such as ancho, chipotle, jalapeño, cayenne, serrano, Anaheim, Hungarian wax, or Carolina Reaper to create a chili oil perfect for pizza, noodles, eggs, soups, dumplings, vegetables, grilled meats, and stir-fries.
Ingredients
- 2 cups neutral oil (peanut, avocado, grapeseed, or light olive oil)
- ½ cup dried pepper blend
- 2 tbsp dried minced garlic
- 1 tbsp dried minced onion
- 2 tsp sesame seeds
- 1 cinnamon stick (optional)
- 2 whole star anise (optional)
- 2 bay leaves
- 1 tsp whole black peppercorns
- 1 tsp kosher salt
NOTE: Tennessee olive oil is what I use to make mine.
Yield: 1 pint
Instructions
- Add the oil, cinnamon, star anise, bay leaves, and peppercorns to a saucepan.
- Heat slowly until the oil reaches 250–275°F (120–135°C). Hold there for about 10 minutes to infuse the spices. Do not let it smoke.
- Meanwhile, combine the dried pepper blend, garlic, onion, sesame seeds, and salt in a heatproof bowl.
- Remove the whole spices from the oil.
- Let the oil cool to 225–240°F (107–115°C).
- Slowly pour the hot oil over the chili mixture, stirring as you pour. It should sizzle but not burn.
- Allow to cool completely.
- Transfer to a clean glass jar.
- Let the chili oil mature. The flavor will begin to develop after 24–48 hours and is usually at its best after about 7 days. Stir or shake well before using.
Heat Adjustments
MILD
- Banana Pepper (Red Ripe): 0 - 500 SHU. Sweet, mild, lightly tangy.
- California Chile (Anaheim): 500 - 2,500 SHU. Sweet, mild, slightly fruity.
- Ancho (Poblano): 1,000 - 2,000 SHU. Rich, earthy, slightly sweet with raisin and cocoa notes.
- Pasilla (Chilaca): 1,000 - 2,500 SHU. Deep, earthy, rich with hints of berry.
- New Mexico Red: 800 - 3,000 SHU. Earthy, slightly sweet, classic red chile flavor.
- Cherry Pepper: 500 - 5,000 SHU. Sweet, fruity, slightly spicy.
- Guajillo (Mirasol): 2,500 - 5,000 SHU. Fruity, tangy, slightly smoky.
MEDIUM
- Jalapeño: 2,500 - 8,000 SHU. Bright, grassy, fresh pepper flavor.
- Chipotle (Smoked Jalapeño): 2,500 - 8,000 SHU. Smoky, earthy, slightly sweet.
- Fresno: 2,500 - 10,000 SHU. Fruity, bright, slightly smoky when dried.
- Hungarian Wax: 5,000 - 15,000 SHU. Tangy, slightly sweet, clean heat.
HOT
Use a mix of the mild and medium peppers, then add 2 teaspoons of a hot pepper. Adjust to taste.
- Serrano: 10,000 - 23,000 SHU. Crisp, bright, clean heat.
- Cayenne: 30,000 - 50,000 SHU. Classic chili flavor with a sharp, clean heat.
- Habanero: 100,000 - 350,000 SHU, Fruity, citrusy, floral with intense heat.
- Ghost Pepper (Bhut Jolokia): 800,000 - 1,000,000+ SHU. Fruity, smoky, extremely hot.
- Carolina Reaper: 1,400,000 - 2,200,000 SHU. Fruity, sweet, intensely hot.
Canning
This is a rebel canning recipe. It does not follow USDA guidelines. Use at your own risk.
Amish Water Bath Canning Method
Once it matures, strain the plant material from the oil. Don't use wet jars. Heat your jars them slowly in the oven: 125°F for 5 minutes, then 175°F for 5 minutes, then keep them at 200°F. Do not go straight to 200°F, they will crack. While the jars are heating, bring the oil to a simmer, do not boil. Store in the refrigerator or water bath. For the best flavor, use within 3–6 months.
Process in a water-bath canner (WB) or steam-bath canner (SB) for 10 minutes at elevations of 0–1,000 feet. If you live at a higher elevation, adjust the processing time using my family’s easy elevation chart in the Blossom & Brine™ Canning Times Guide. Start the timer at a full rolling boil, this is a boil that can't be stirred down.
Pressure Canning Method
No established pressure-canning time for this recipe.
📌 Instructions: How to water bath can, steam bath can, pressure can, open kettle can, and headspace.
Disclaimer: Recipes and methods are shared for educational purposes and may include traditional, historical, or home-developed food-preservation practices. Unless stated otherwise, they have not been evaluated or approved by the USDA. By choosing to use this information, you accept full responsibility for your decision and agree to the terms of our Liability Waiver.
Nutrition
| Serving: one tablespoon Calories: 120 kcal Total Fat: 14 g Saturated Fat: 2 g Total Carbohydrates: 0 g | Total Sugars: 0 g Cholesterol: 0 mg Sodium: 60 mg Fiber: 0 g Protein: 0 g |